News
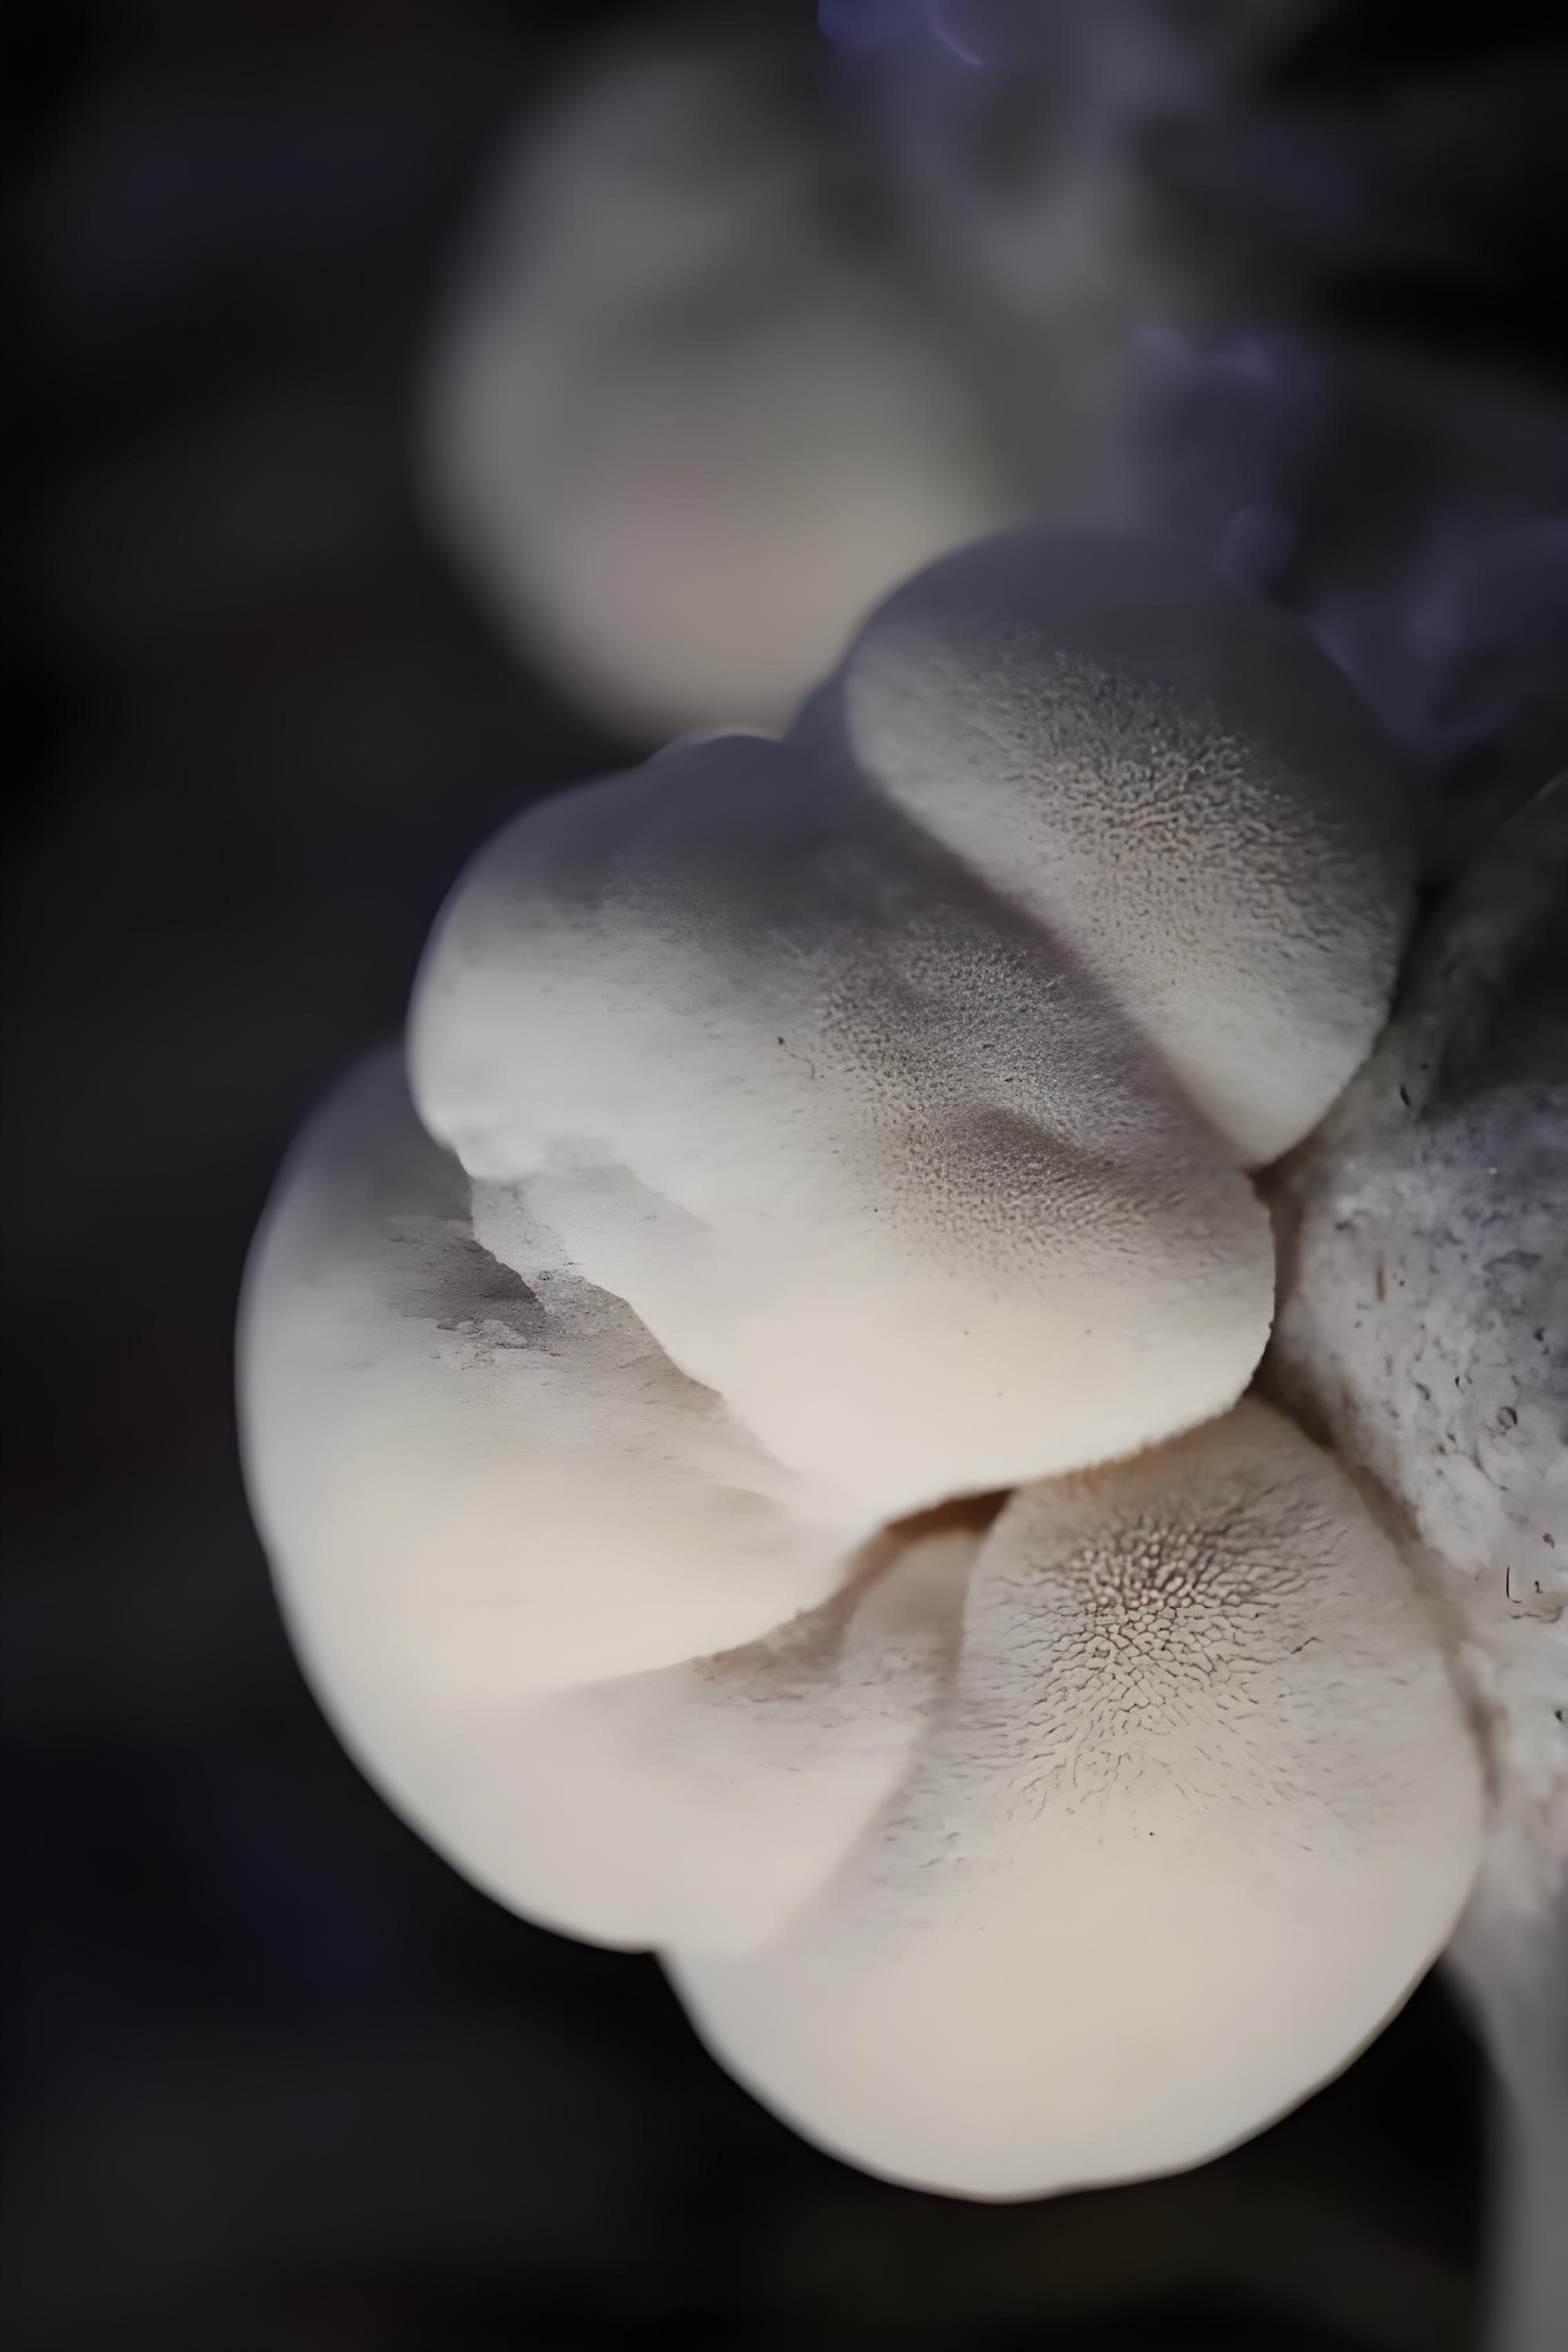
Hericium erinaceus bag preparation and method
![]()

1. **Timing for Preparation** - Move bags to fruiting areas after ~30 days of indoor cultivation when mycelium reaches physiological maturity (transition to reproductive growth). - Wild mushroom sheds are ideal (better air, fewer deformed mushrooms). - Monitor closely: primordia may form before full mycelium development, requiring timely relocation. 2. **Preparation Steps** - Remove seed blocks from inoculation holes (and tape if used) to ensure orderly fruiting. - Clean the shed post-shelving for hygiene. - Remove seed blocks in the shed for shelf/bed cultivation; remove them in the culture room first for open-field cultivation (to avoid contamination). 3. **Shelving Methods (All Require Inoculation Holes Facing Downward)** - *Why downward?* Promotes neat spine growth (better appearance, fewer deformities), maintains optimal humidity (reduces "bald" mushrooms), and avoids light (keeps fruiting bodies white). - (1) **Shelf-type** - Bags placed horizontally on shelves (3–5 cm apart); 30,000–40,000 bags/667㎡. - Pros: high space utilization, easy management (suitable for large-scale cultivation). - Cons: poor moisture retention (top layers prone to dry/deformed mushrooms). - (2) **Bed-type (Ridge type)** - Bags lean upright at 60°–70° on beds (inoculation holes down), 12 bags/row; ~12,000 bags/667㎡. - Pros: good moisture retention (better thorn formation, whiter color). - Cons: low land utilization; risk of sand/mud on fruiting bodies with improper watering. - (3) **Open-field cultivation** - Bags placed flat (2 cm apart) under plastic sheets + straw shade; 8,000–10,000 bags/667㎡. Beds watered (5–10 cm depth) with ventilation gaps every 6m. - Pros: cost-saving (no shade shed), low management effort, uses fallow land. - Cons: risk of waterlogging/rot in rain, overheating in sun (reduces yield/quality); hard to adjust growth conditions manually.
Categories
Contact Us
- +86 15093267083
- +86 15093267083
- amy@zzbelead.com
- +8615093267083


